|
|
|
|
|
|
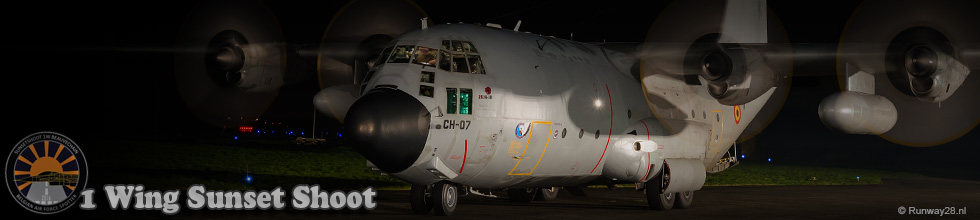
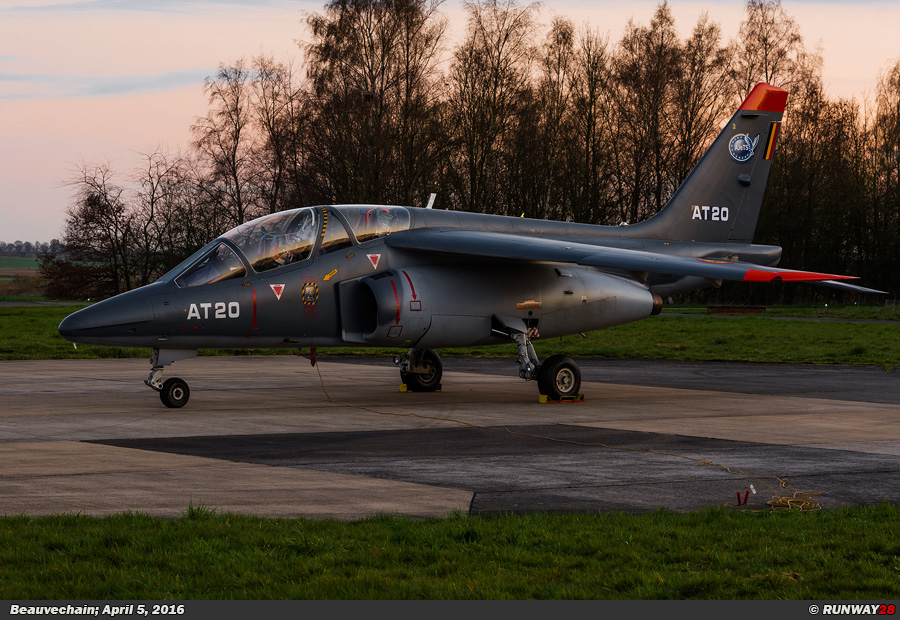
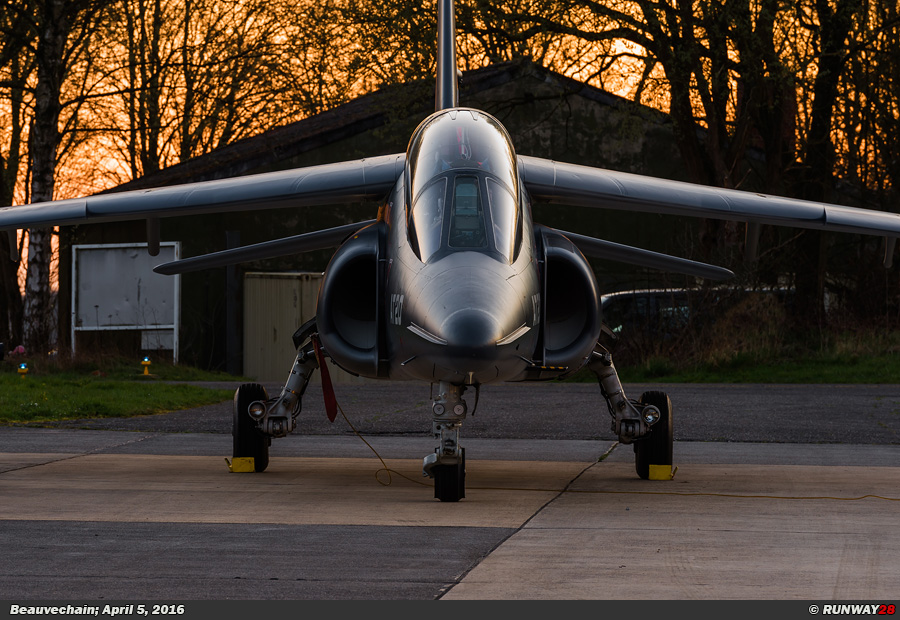
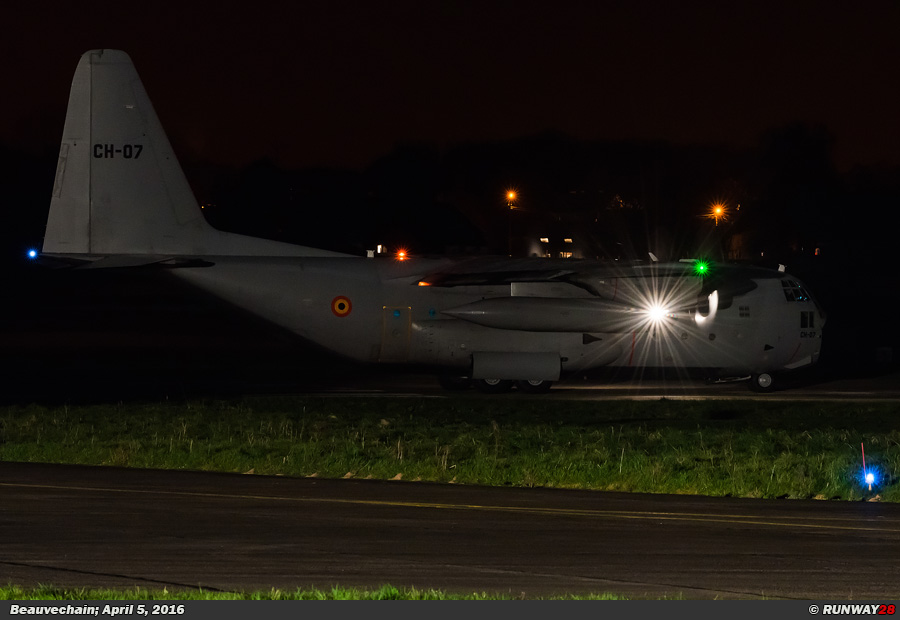
The Art of Night Photography; Beauvechain, April 5, 2016
Belgian Air Force Sunset Shoot 2016; Text and Photograph's by Alex van Noye
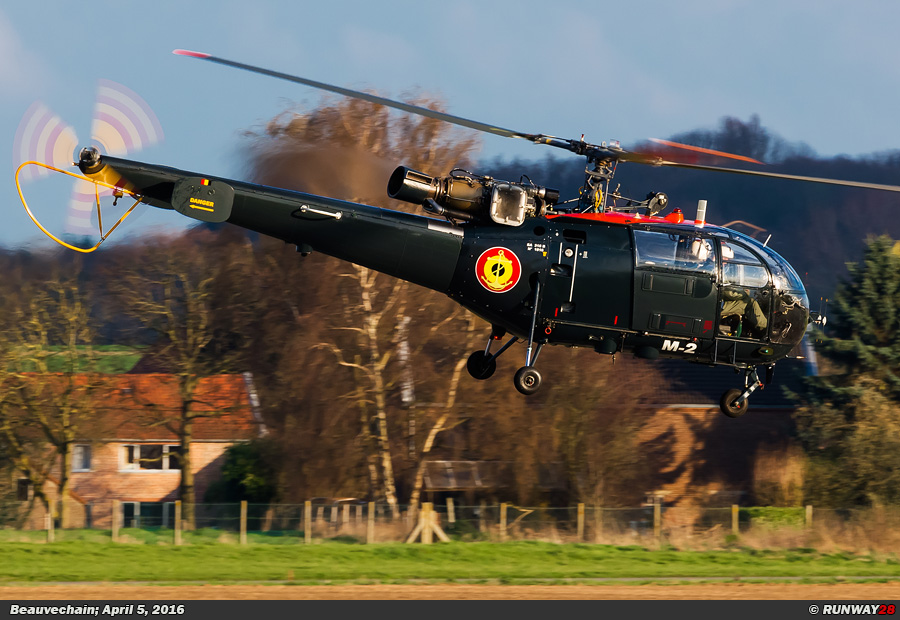
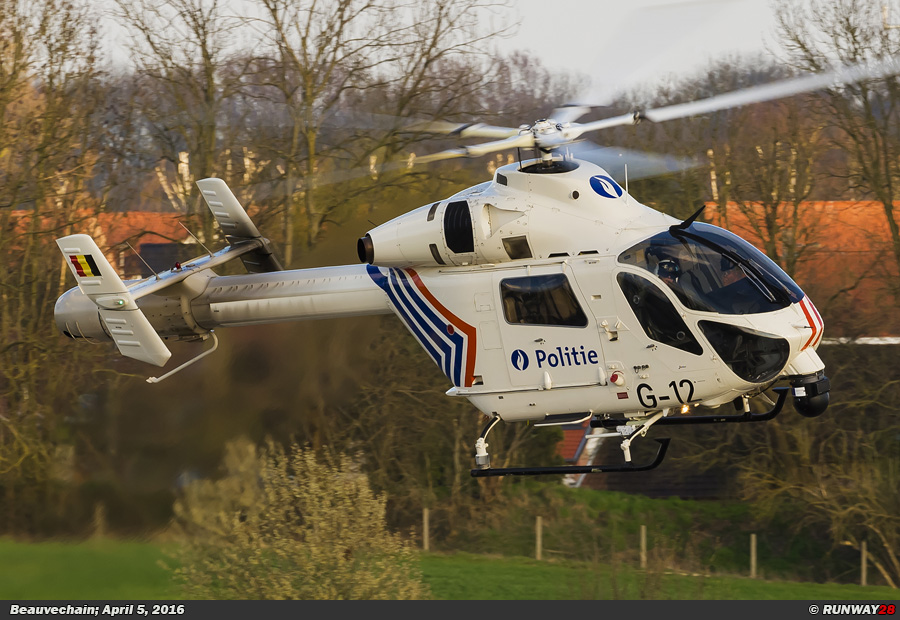
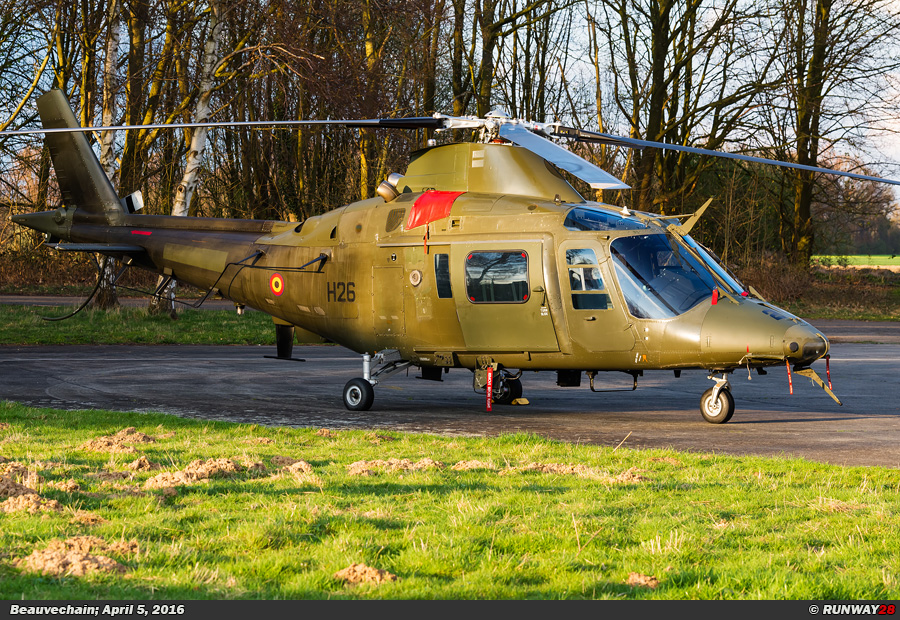
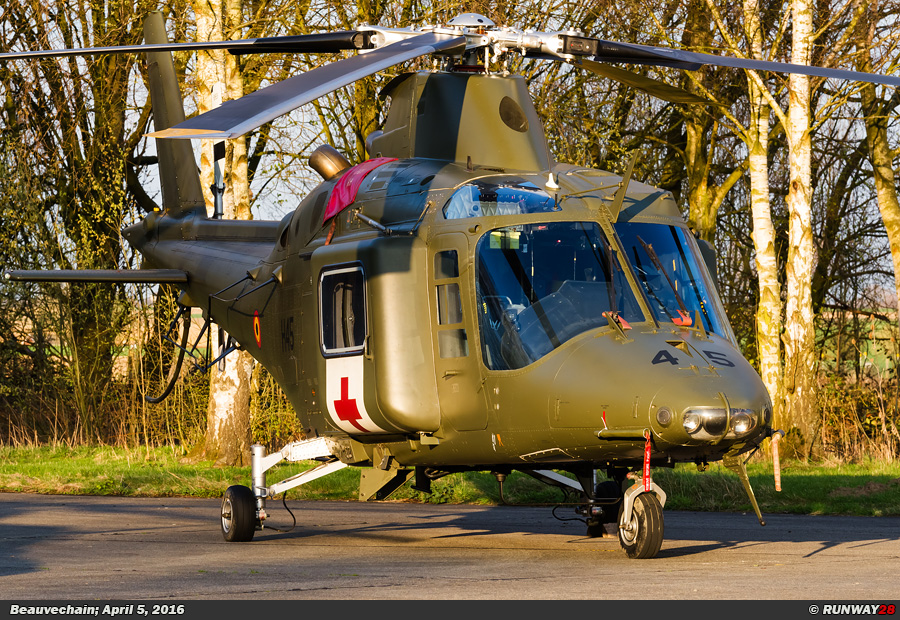
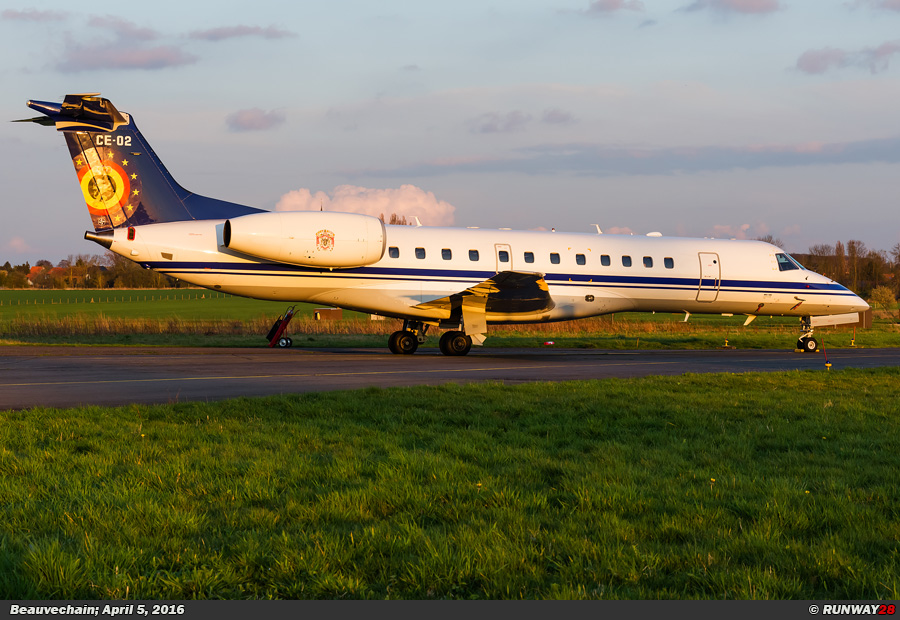
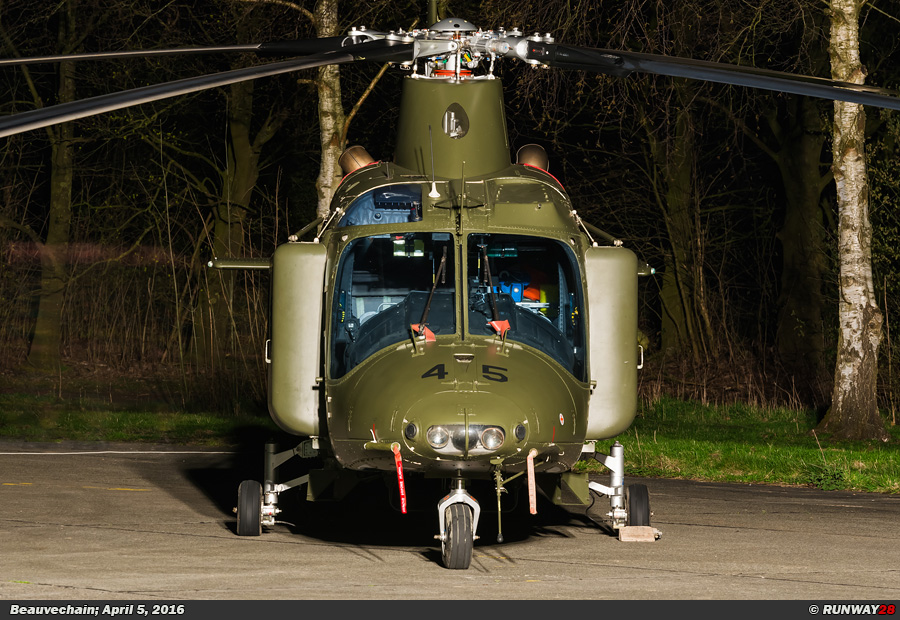
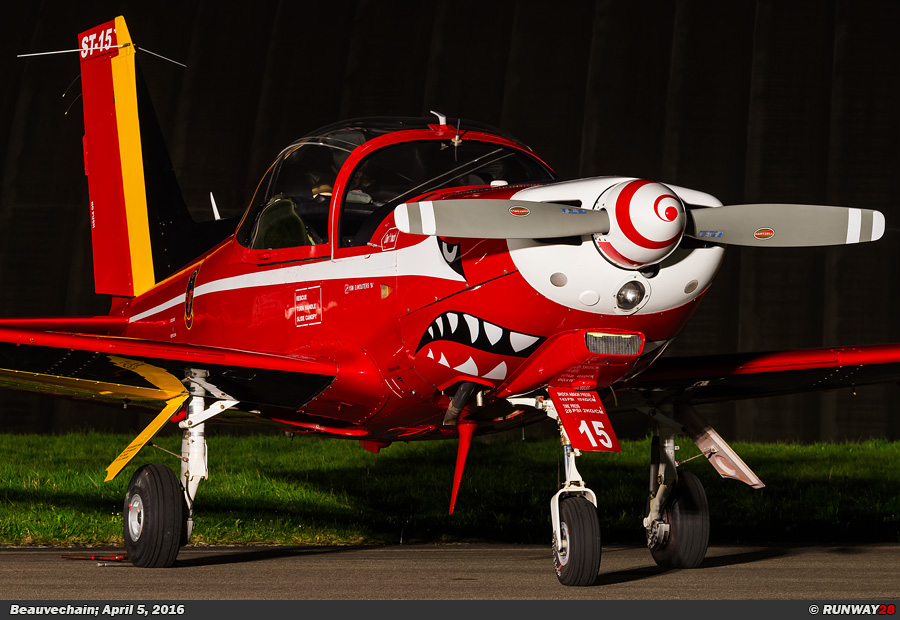
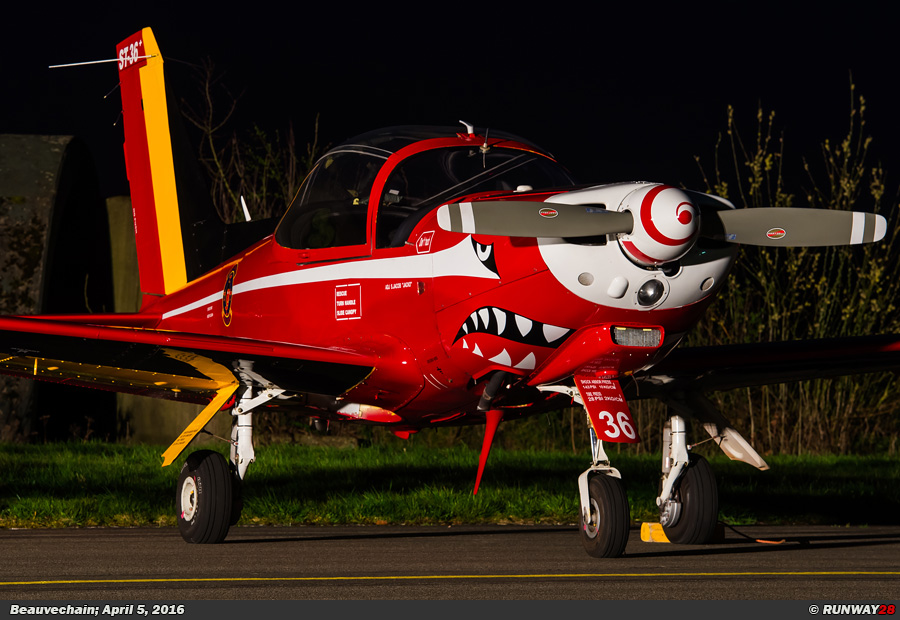
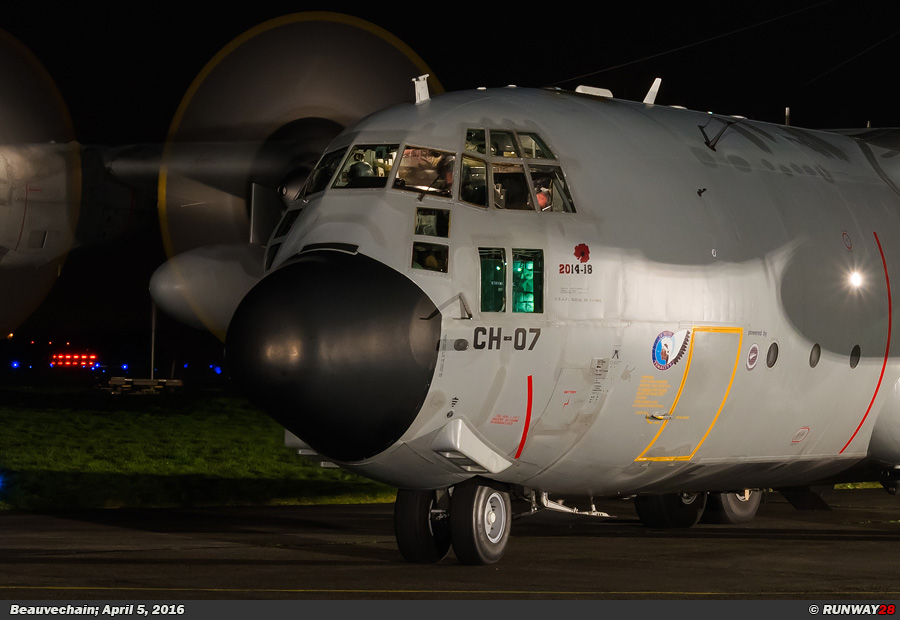
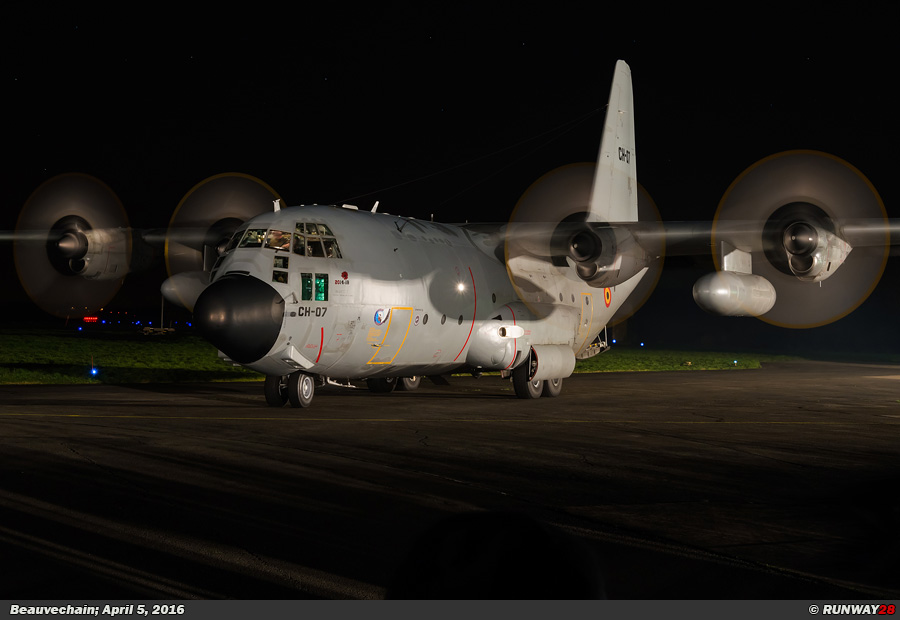
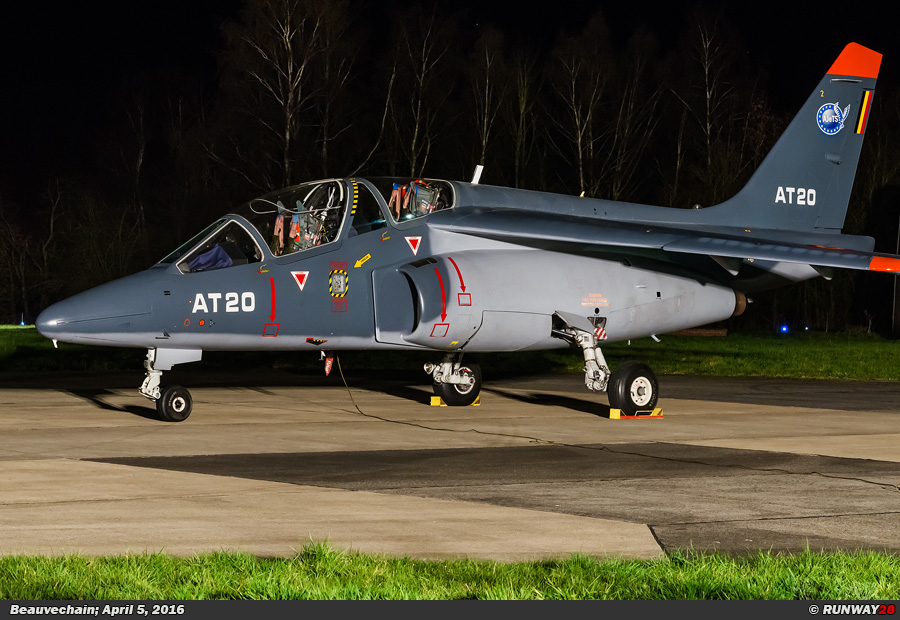
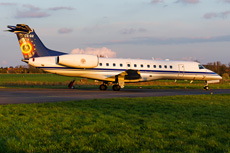
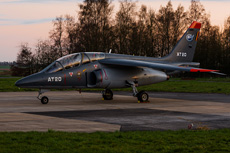
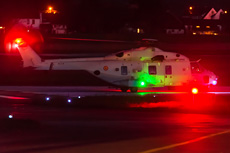
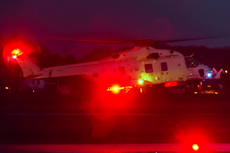
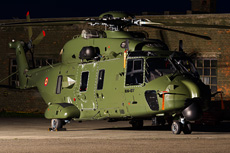
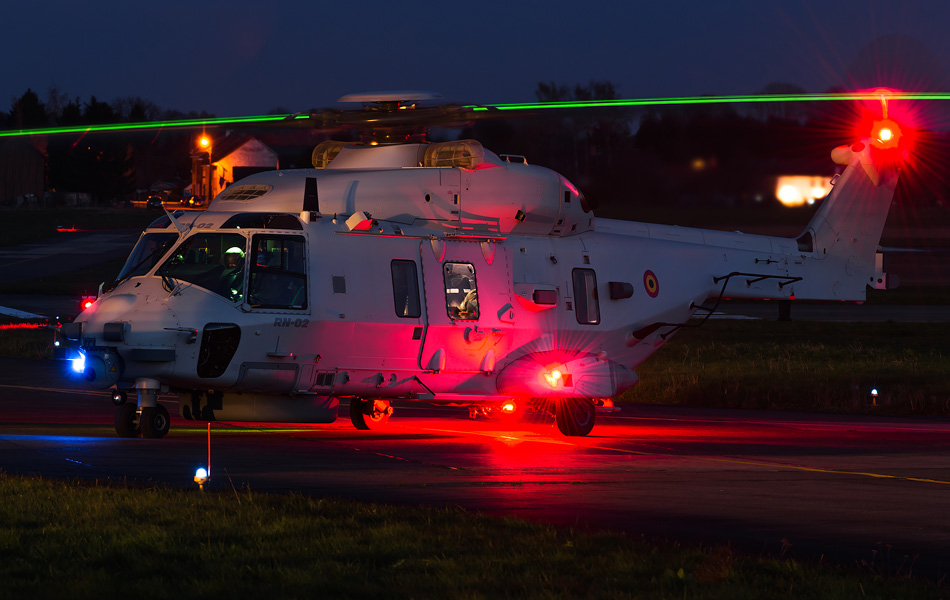
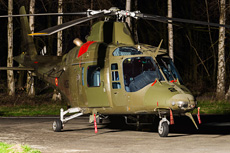
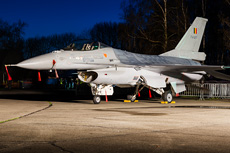
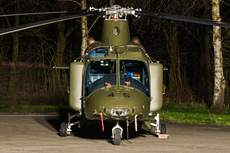
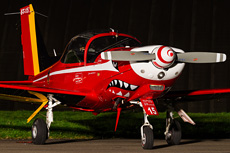
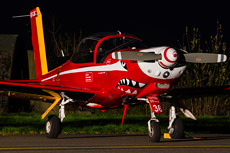
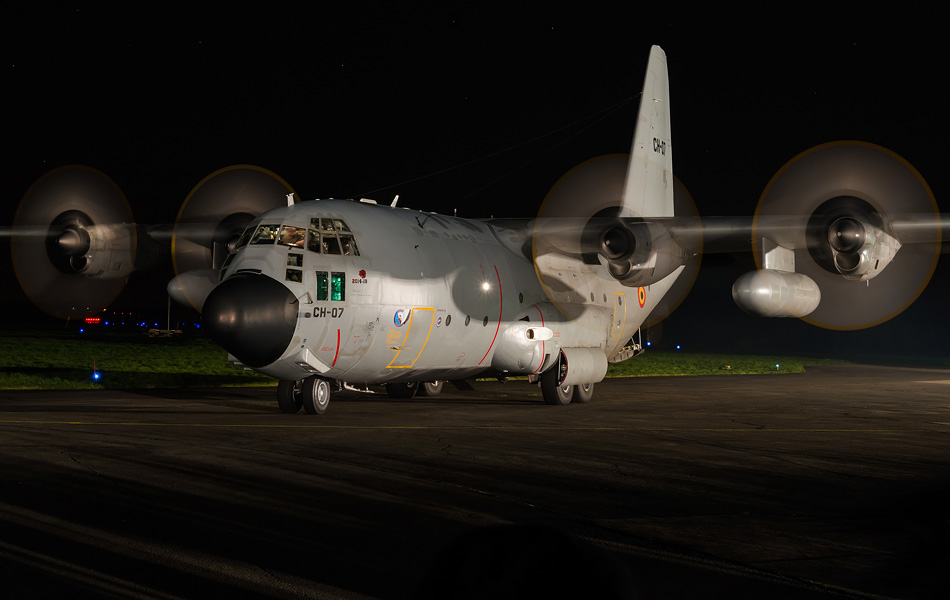
In the evening of April 5, 2016, the Belgian Air Force organized in cooperation with the 1 Wing at Beauvechain their first Sunset Shoot. During this shoot, a group of over 400 photographers was invited and had the opportunity to shoot the aircraft and helicopters of the Belgian Air Force during sunset and at night.
Night photography is one of the most exciting forms of photography. The Sunset Shoot at Beauvechain was an occasion where all the lessons learned could be used in a practical situation by the present photographers. Night photography is fun, but also one of the most difficult types of photography. There are quite a few aspects which should be considered. The most important is the stable and vibration-free setup of the gear. Night photography is a form of photography in which skills and mastery of the camera are required. The most important tip before you start shooting at the airbase is to practice first on objects in the city or in the woods where it's really dark. As soon as the techniques are mastered, it is time to take action along the runway. Before you get started with night photography it is important to establish the camera settings correctly in advance. The most important choice you can make is shooting in RAW format. Shooting in RAW is always the standard, but at night photography it’s really a must. At night the only available light is often the reflection of the moon or artificial light from lamps. In particular, the present artificial light is a big factor in the exposure. Lamps have all their own color characteristics and therefore they have a large influence on the white balance. In most cases, the Auto White Balance setting of the camera does not reflect reality in the end result. However, it is advisable to keep shooting with this setting, because you do not know how the light on the aircraft will behave. The light which goes through the lens is unpredictable at night and this is also seen in the balance calculation. The white balance can be corrected afterwards in the software.
Besides the color settings it is also a very important to keep in control of noise reduction. During night photography you are working in the dark which is causing very slow shutter speeds. It is therefore not surprising that noise will appear in the pictures when no measures are taken in advance. Try to keep the ISO settings always as low as possible. A low ISO is similar to a film with a fine grain and requires a longer
|
|
|

|
|

|
|
|
|
|
|
exposure. The disadvantage is that shutter speeds are longer. The camera sensor noise is first visible in the dark areas of the picture and of course there are many dark areas in night photos. Also under these conditions it helps if you work with a full frame camera. The sensor of a full frame camera is less sensitive to noise compared to a camera with a crop factor. When you shoot with an extremely slow shutter speed which is longer than a minute, you should ensure that the noise reduction is turned on at the camera. Even with a low ISO setting it creates during extremely slow shutter speeds lots of noise and it even creates dead pixels (i.e. pixels in one color). When the noise reduction is turned on there is after a picture is taken with the slow shutter speed a second picture taken next to the original image. This photo is compared by the camera software with the first photo. The noisy areas in the first photo are compared with the second photo and are corrected digitally.
The most important tool for a good series of night photos is a solid tripod. The more stable the tripod stands the better the results. A stable surface is very important, because very slow shutter speeds are during the exposure very sensitive for minimal vibrations of the setup. Make sure the tripod which is used is very stable positioned on the ground. If the tripod is able to make a minimal movement it will ruin the night shots immediately. If no heavy tripod is available or a situation occurs where the tripod cannot be positioned in a good way, it is possible to arrest something heavy, like for example your bag, under the center of the setup. This is a proven technique which really makes sense. If you do not do this and you have a lighter model tripod the whole set-up will vibrate due to the wind which is blowing against the lens. Stability is the main condition for a good night photo. To reduce camera vibration even more it is advisable to fold the mirror of the camera preventative before exposure. How to do this can be found in the manual of the camera. The mirror produces too much vibration in the camera and the photos are worthless if you do not do this. The easiest way to expose photos with mirror in locked up position is shooting in live view modus. The viewfinder is then switched off and the image which you are going to capture appears on the screen at the back of the camera. The camera flips the mirror automatically up, because the live view function does not need it.
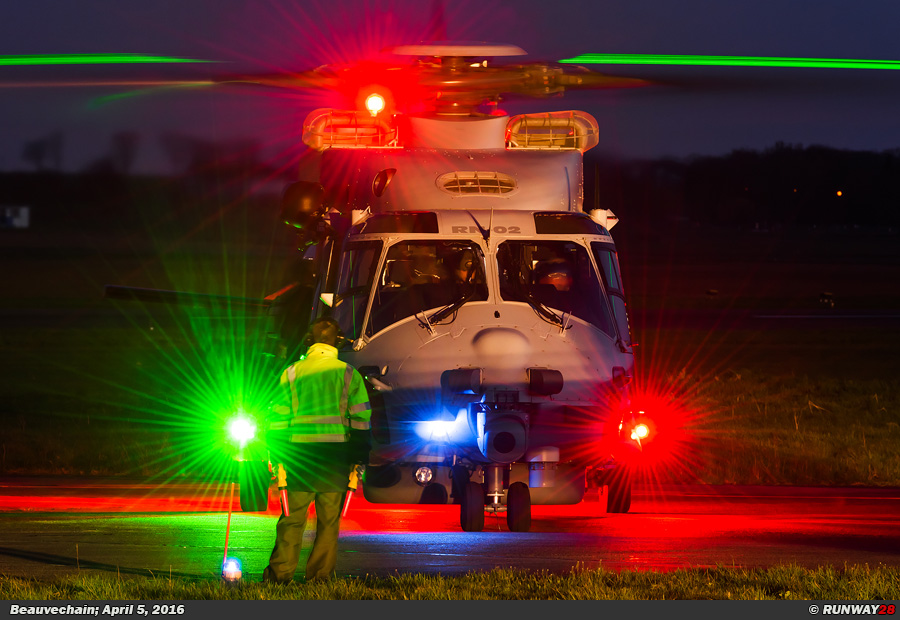
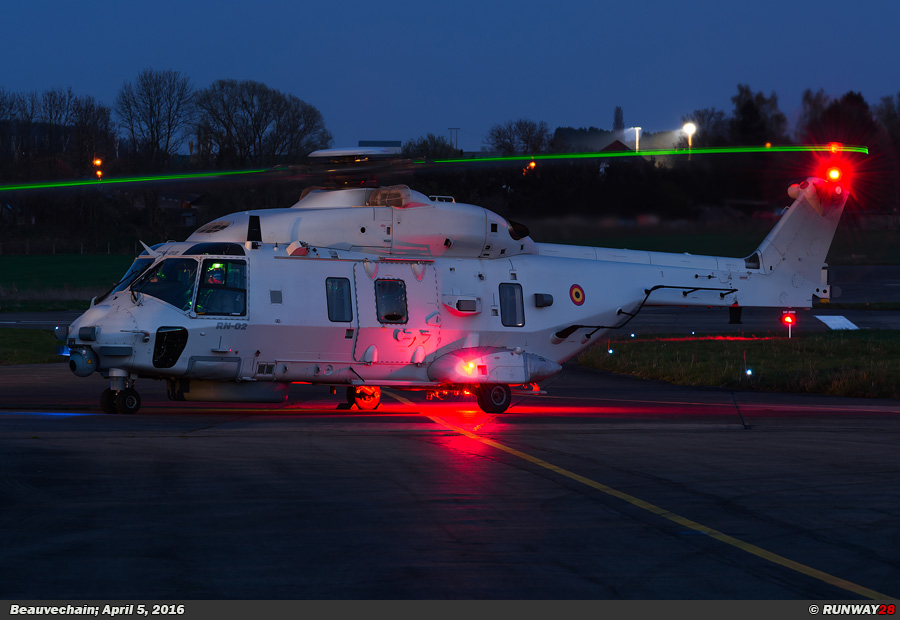
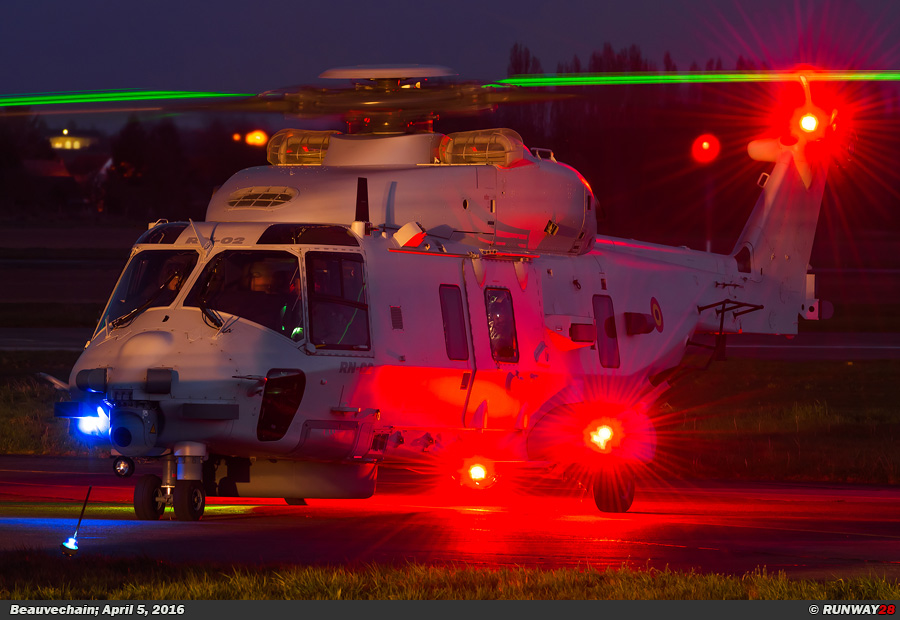
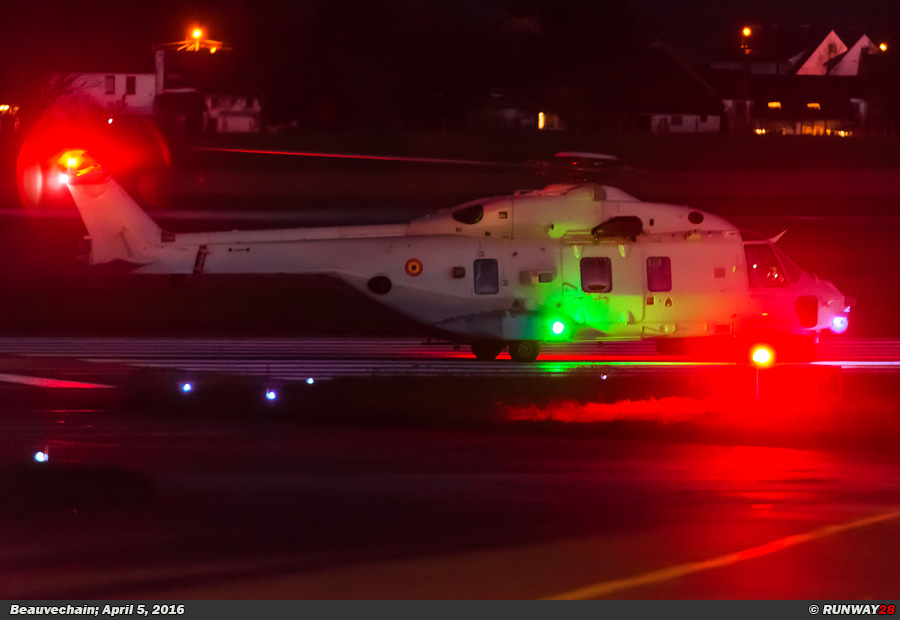
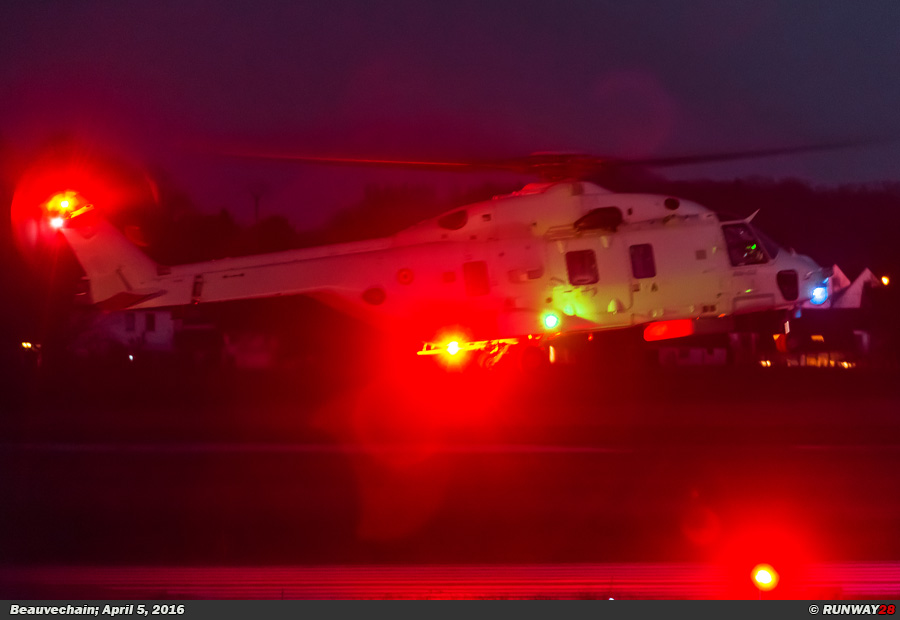
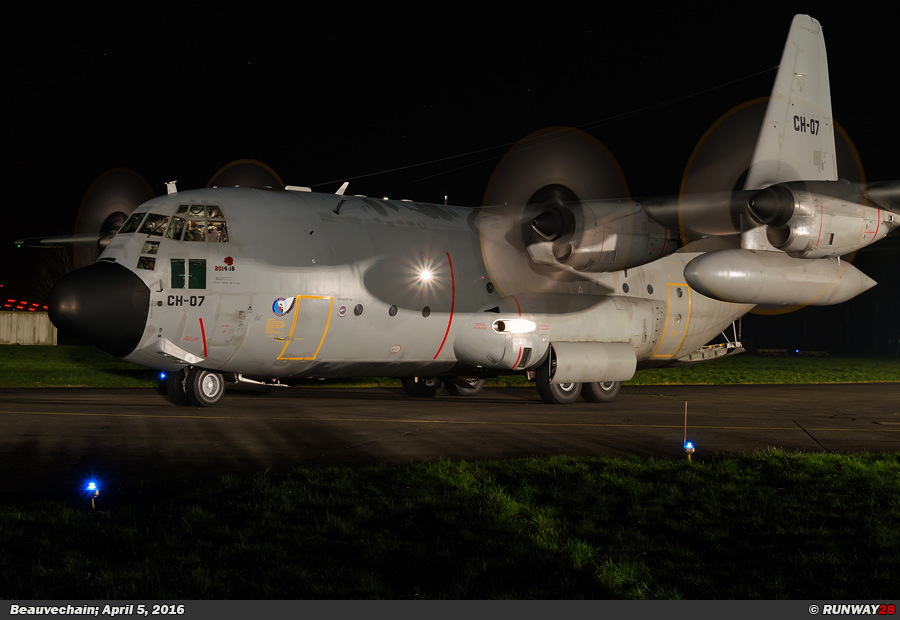
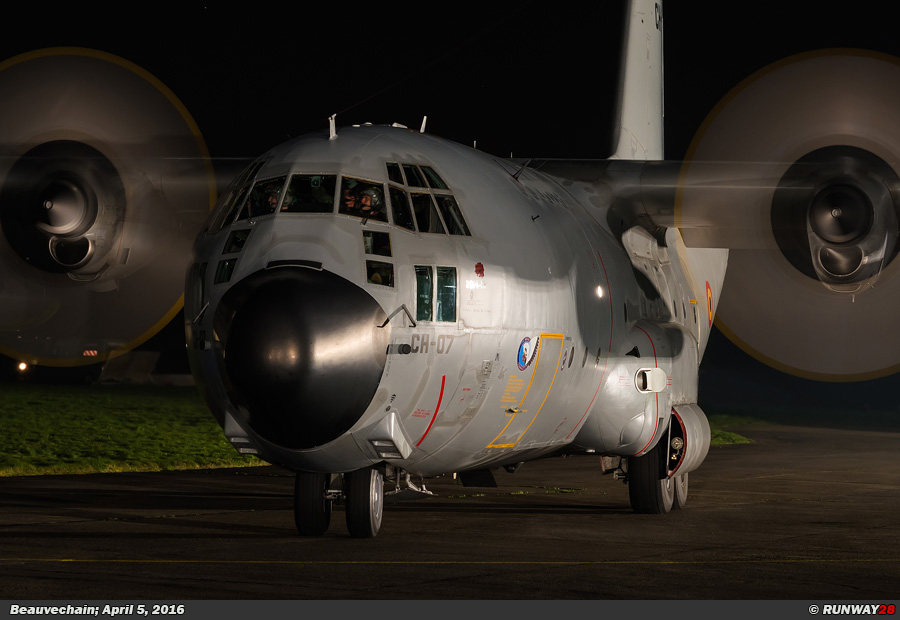
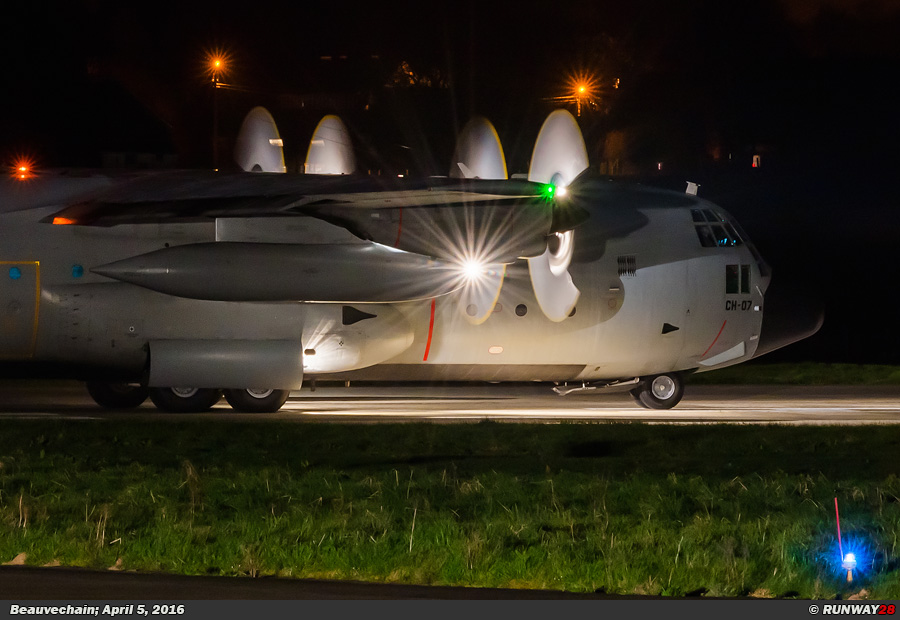
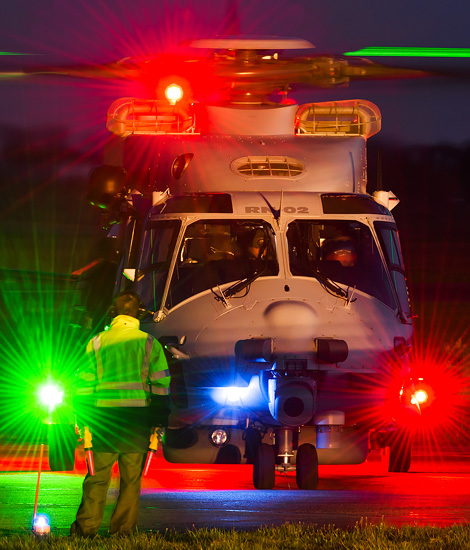
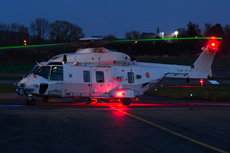
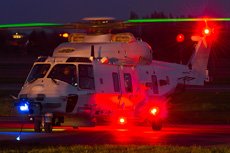
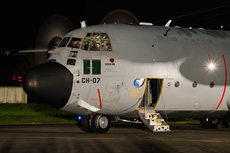
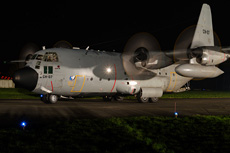
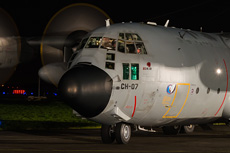
Focusing on a plane with your lens can be done in two ways. When working with Live View, the autofocus does it usually fine if you briefly aim on illuminated parts of the aircraft by using the center spot. If you choose to shoot with the viewfinder, it is wise to do the focus manually. The viewfinder of your autofocus sensor receives too less light at night in order to function sufficiently reliable. When you use a lens with image stabilization, it is advisable to turn it off when you have your camera on a tripod. If the camera is on the tripod, the lens will still try to correct vibration when the stabilizer is still switched on. This often results in blurred images, because the objective is over-correcting the vibrations. Pressing the shutter button with the finger also delivers just like the flip-up of the mirror too much vibration. To prevent this, you can use a remote controller. The cheapest way is to use the self-timer on your camera. Once the button is pressed, a timer is running and the camera's sensor will start the exposure after a few seconds. During this period the camera is able to stabilize again after pressing the shutter button manually. All the vibrations which are caused are already faded out before the exposure will start. The only factor which currently can mess up your photo is the fact that the aircraft is leaving its position before the exposure is completed. This is something which you cannot control and you have to live with it. During the Sunset Shoot at Beauvechain the present photographers had the opportunity to photograph an NH90 and a Hercules which were started up.
|
|
|
|
|

|
|
|
|
|
|
|
|
|
|
|
|
|
|
|
|
|
|
|
|
|
|

|